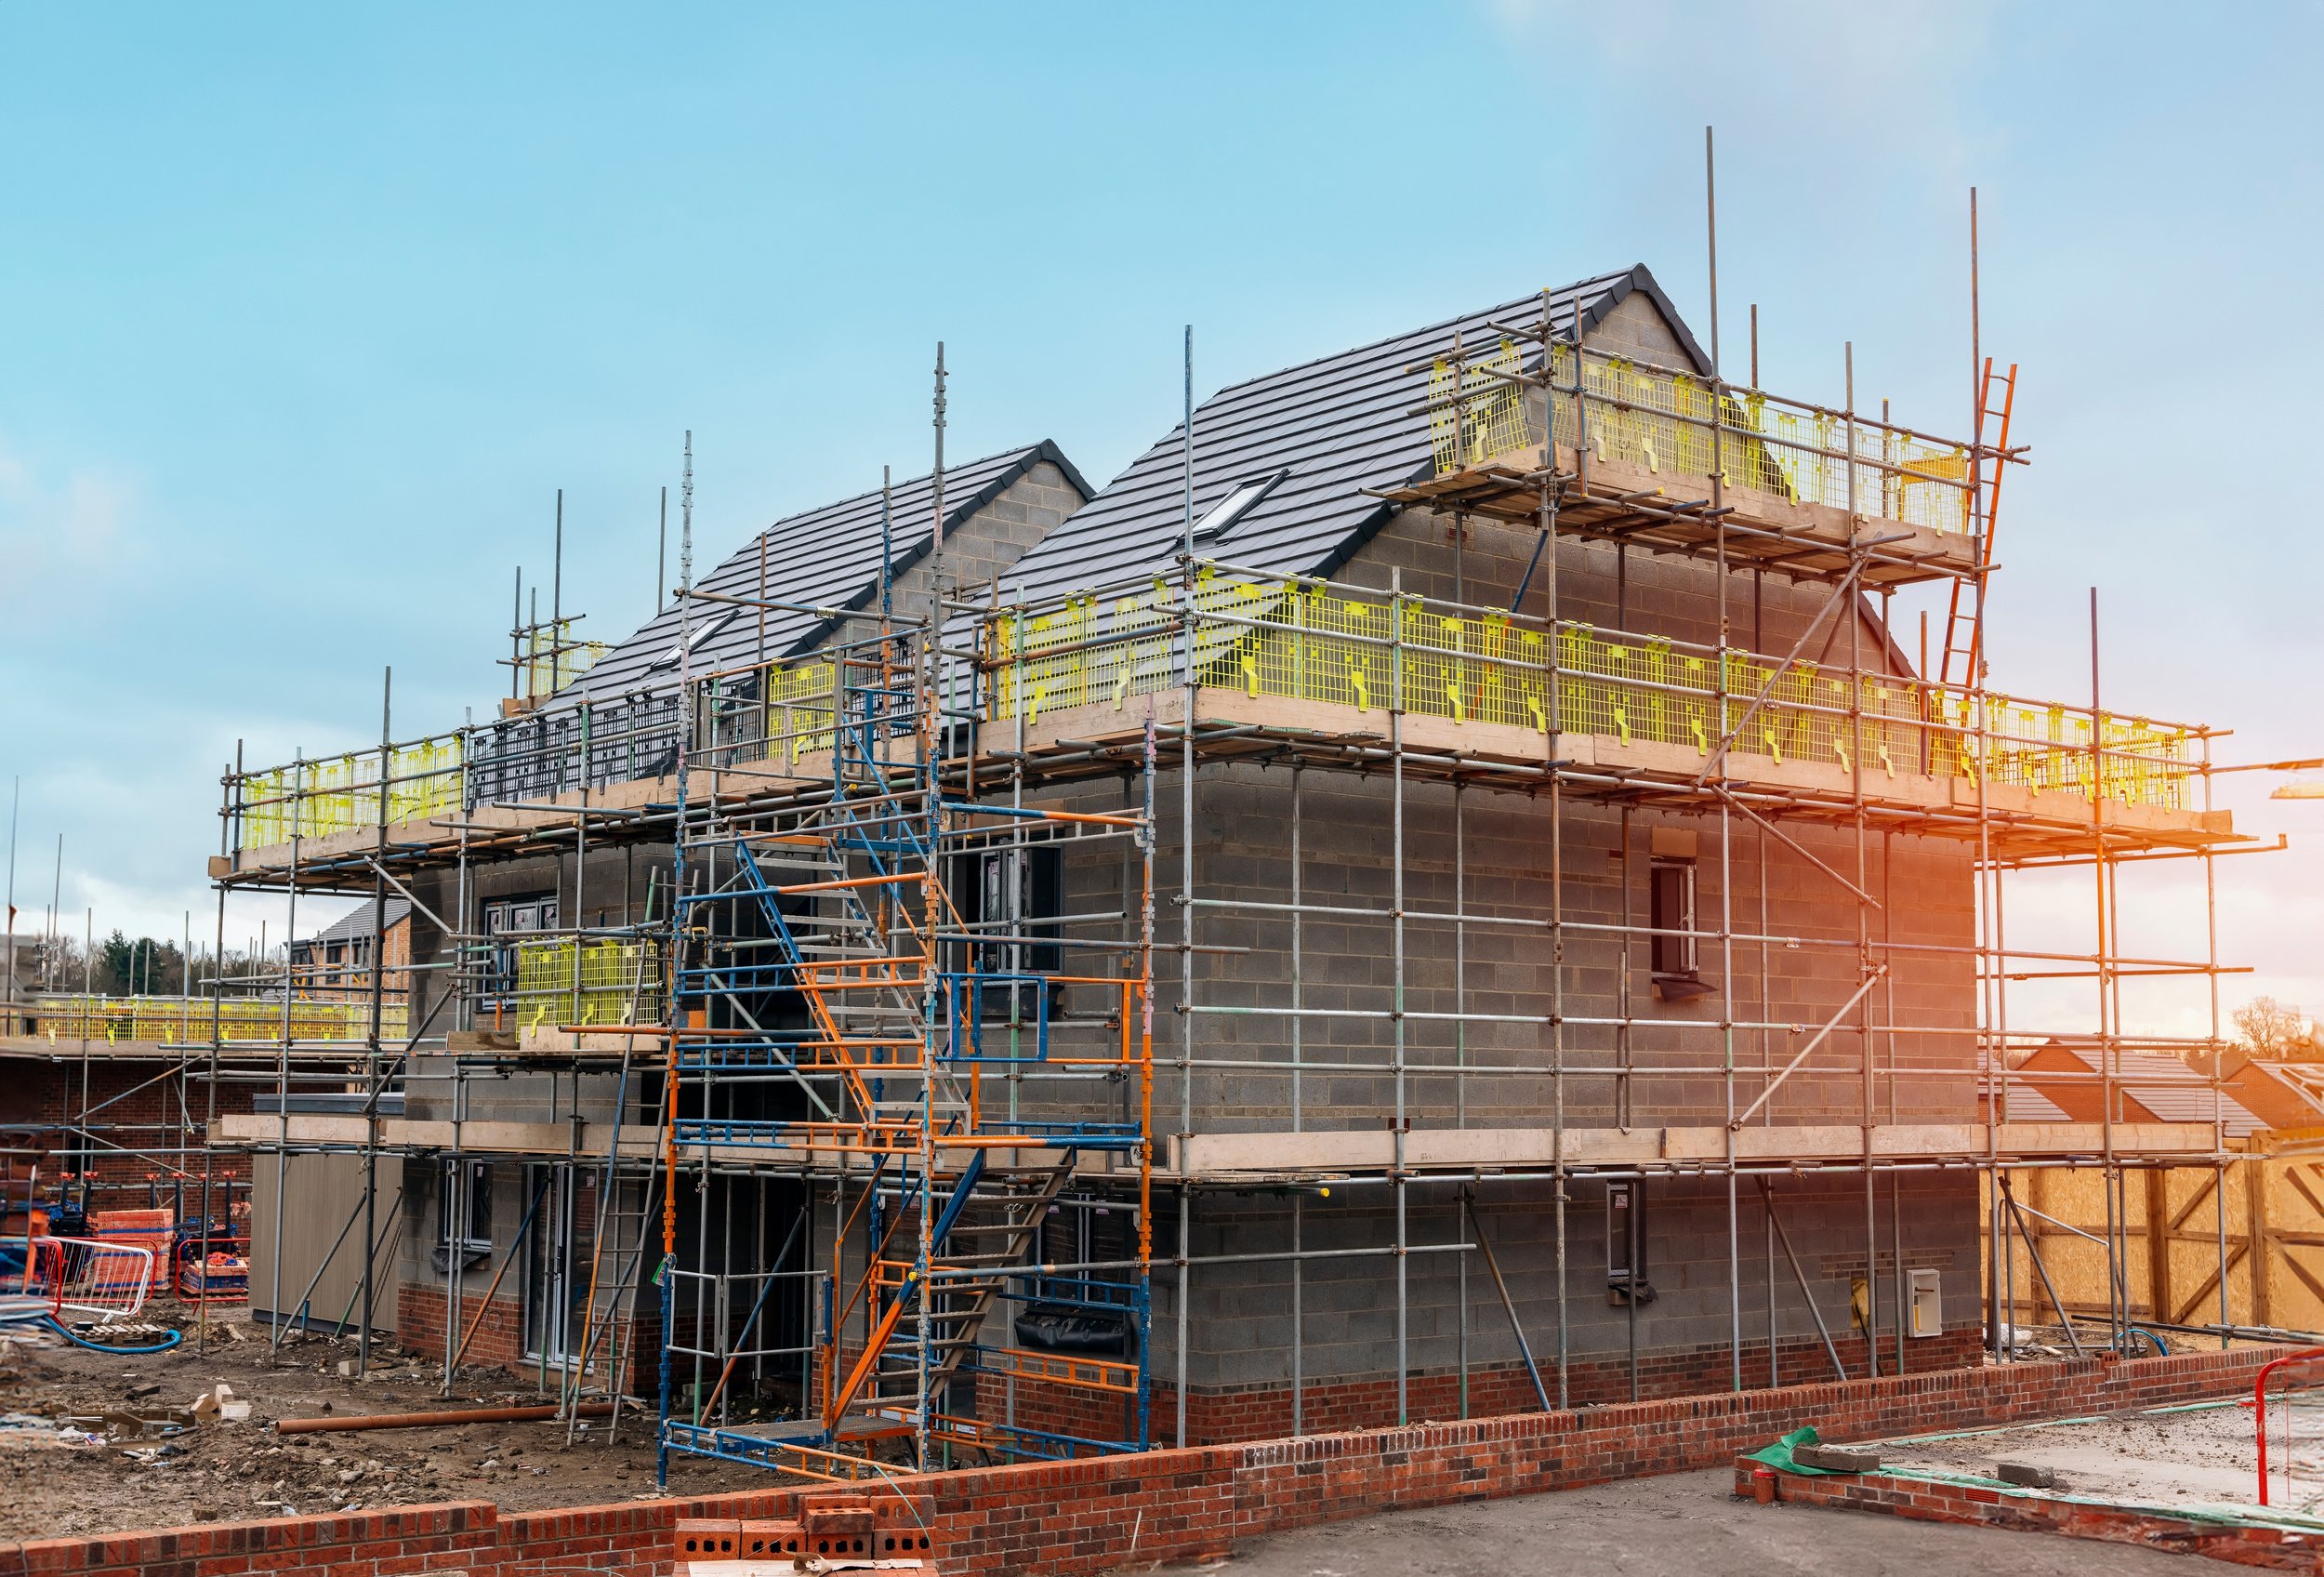
Flat Roofing Flashing
An overview of this modern roofing solution outlining its features, benefits and maintenance.
Flashing is a critical component in flat roofing systems, designed to prevent water ingress at the junctions and edges of the roof.
Proper installation of flashing ensures the long-term performance and durability of the roofing system by sealing vulnerable areas against water penetration. Here’s a detailed guide to flat roofing flashing, including its features, benefits, and installation considerations.
Features of Flat Roofing Flashing
Material Composition: Flashing can be made from various materials, including lead, zinc, copper, aluminium, and rubberized asphalt. Each material has its own benefits depending on the application.
Flexibility: Flat roof flashings need to be flexible to accommodate the movement of the roofing materials due to temperature changes.
Durability: Flashing materials are designed to withstand harsh weather conditions, UV exposure, and temperature fluctuations.
Benefits of Flat Roofing Flashing
Waterproofing: The primary function of flashing is to create a waterproof barrier that prevents water from penetrating the roof at joints, edges, and penetrations (such as chimneys, vents, and skylights).
Durability: Flashing materials are typically long-lasting and can significantly extend the lifespan of the roofing system by protecting it from water damage.
Versatility: Flashing can be used in various roofing applications, including flat, pitched, and green roofs, making it a versatile solution for different roofing needs.
Aesthetic Appeal: Properly installed flashing provides a clean, finished look to the roof, enhancing the overall appearance of the building.
Types of Flat Roofing Flashing
Drip Edge Flashing: Installed along the edges of the roof to direct water away from the fascia and into the gutter system.
Valley Flashing: Used in the valleys where two roof sections meet to channel water away and prevent leaks.
Step Flashing: Installed where the roof meets a vertical surface, such as a wall or chimney, to create a waterproof barrier.
Counter Flashing: Installed over step flashing to protect it and create an additional waterproof barrier.
Vent Pipe Flashing: Used to seal around vent pipes that penetrate the roof, preventing water from entering around the pipe.
Installation Considerations
Preparation:
Ensure that the roof surface is clean and dry before installing flashing. Remove any debris, dust, or old roofing material that could interfere with the adhesion of the flashing.
Check for any structural issues or necessary repairs before installing the flashing.
Material Selection:
Choose the appropriate flashing material based on the roof type, climate, and specific application needs. For example, lead flashing is durable and malleable, making it ideal for complex shapes, while rubberized asphalt is flexible and easy to apply.
Application:
Cutting to Size: Cut the flashing material to the required size and shape, ensuring it fits snugly around the roof features it is intended to protect.
Securing: Secure the flashing in place using nails, screws, or adhesive, depending on the material and application. Ensure that the flashing is properly fastened to prevent it from lifting or shifting.
Sealing: Apply a suitable sealant to the edges of the flashing to create a watertight seal. Ensure that the sealant is compatible with the flashing material and the roofing system.
Overlapping: Ensure that any overlapping pieces of flashing are properly sealed and secured to prevent water from seeping through the joints.
Ventilation:
Proper ventilation is essential to prevent moisture buildup and condensation under the roof. Ensure that the flashing installation does not obstruct any ventilation openings.
Maintenance of Flat Roofing Flashing
Regular Inspections: Conduct regular inspections to check for any signs of damage, wear, or deterioration in the flashing. Pay special attention to areas where different materials meet, as these are more prone to leaks.
Cleaning: Keep the flashing clean and free of debris, such as leaves and dirt, to ensure proper water flow and prevent blockages.
Repairs: Promptly repair any cracks, holes, or other damage to the flashing to maintain its effectiveness. Use compatible materials and sealants to ensure a proper repair.
Conclusion
Flat roofing flashing is an essential component for maintaining the integrity and longevity of a flat roofing system. By providing a waterproof barrier at vulnerable points, flashing helps prevent water damage and extends the life of the roof. Proper installation and regular maintenance of flashing are crucial to ensuring its effectiveness. Whether you are installing a new roof or repairing an existing one, understanding the importance of flashing and how to properly install and maintain it is key to a durable and leak-free roofing system.
Top Articles
► Planning Permission for a New Roof
► Building Regulations for a New Roof
► Does a New Roof Add Value to Your Home?
► Does Insurance Cover Roof Leaks?
Roofing Materials Explained
► Code 3 and Code 4 Lead Flashing
► Slates
► Best Materials for Flat Roofs
Roofing Components
► Roof Ventilation for Flat Roofs
► What are Soffits and Fascias?
► What is a Fibreglass Flat Roof?
Common Guides
►How Much Does a New Roof Cost
► How to Find a Leak in Your Roof
► Why is my Velux Window Leaking?
► Planning Permission Velux Windows
► How to Clean Roof Tiles Without Pressure Washer
► Removing Moss from Roof Tiles
